
Setting up email hosting with Microsoft Office 365 is a pivotal decision for businesses aiming to establish robust and dependable communication solutions. With Office 365, organizations gain access to a suite of productivity tools and a secure email platform, ensuring seamless collaboration and efficient communication. In this comprehensive guide, we will take you through a step-by-step process to effortlessly configure your email hosting on Microsoft Office 365.
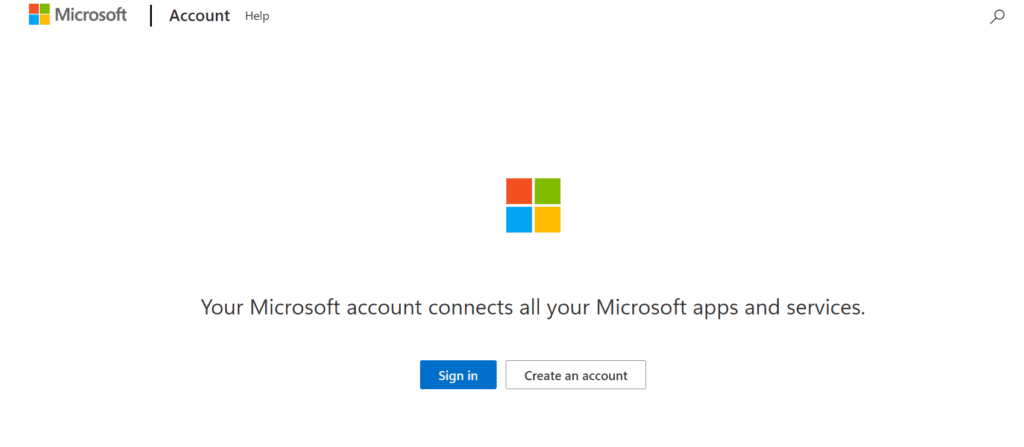
Step 1: Subscription and Account Creation
Begin the process by subscribing to Microsoft Office 365. Select a plan that aligns with your business requirements and create an account. This step involves providing essential information such as your organization’s name, domain, and user details. Once the subscription is in place, you’ll have access to the Office 365 admin center.
Step 2: Domain Verification
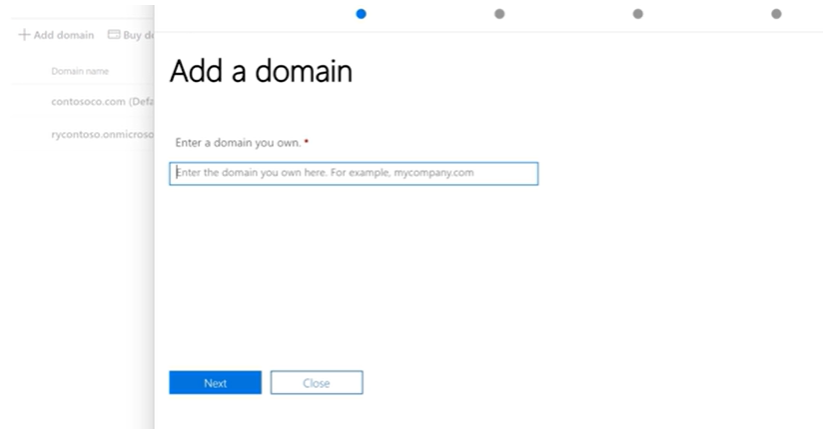
Verify your domain to prove ownership and establish trust. This involves adding a specific record to your domain’s DNS settings or uploading a file to your website. Domain verification is crucial for security and ensures that your emails are sent and received with authenticity.
Step 3: User Setup and Mailbox Configuration
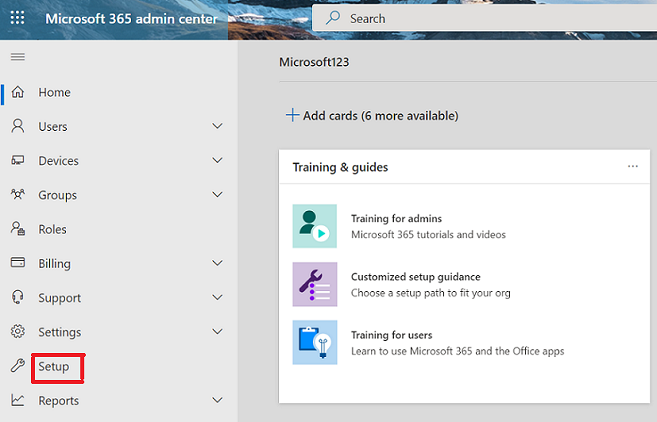
Add users to your Office 365 account, assigning them email addresses based on your verified domain. If you’re migrating from an existing email solution, Office 365 provides migration tools to seamlessly transfer your emails, contacts, and calendars. This ensures a smooth transition without compromising data integrity.
Step 4: Outlook Configuration
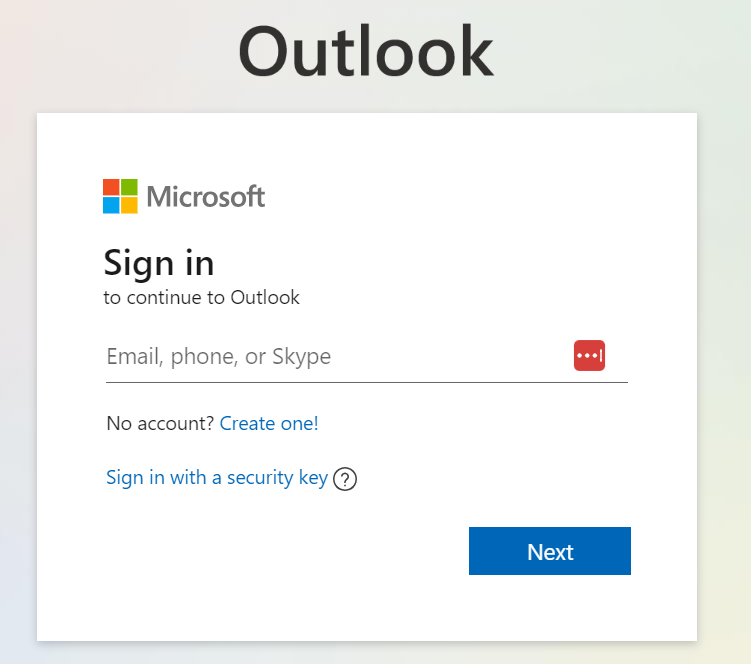
Integrate Microsoft Office 365 with Outlook for a seamless email experience. Follow the configuration steps to synchronize emails, calendars, and contacts across devices, ensuring accessibility from anywhere.
Step 5: Security Measures
Enhance email security by implementing multi-factor authentication, setting up spam filters, and configuring advanced threat protection. Microsoft Office 365 offers robust security features to safeguard your communication channels.
Step 6: Data Migration (If Applicable)
If migrating from another email hosting solution, execute a smooth transition by importing existing emails, contacts, and calendars into your Office 365 environment. Microsoft provides tools and resources to facilitate this process.
Step 7: Collaboration Tools Activation
Explore and activate collaborative tools such as Microsoft Teams, SharePoint, and OneDrive. Leverage these features to enhance teamwork, document sharing, and overall productivity within your organization.
Step 8: Training and Support
Empower your team with training resources provided by Microsoft. Familiarize users with the new email hosting environment and its features. Additionally, take advantage of Microsoft’s support options for any queries or issues that may arise.
Congratulations! You’ve successfully set up email hosting with Microsoft Office 365. By following these step-by-step guidelines, your organization is now equipped with a powerful and secure communication platform that fosters productivity and collaboration. Explore the full suite of features offered by Microsoft Office 365 to optimize your business communication processes.